Key takeaways
- A modern phone, window light, a plain textured background and a tripod will cover most menu and delivery app photos.
- Grab’s Singapore merchant help centre asks for square (1:1) menu photos of at least 750 x 750 pixels, with the file name matching the menu item, and no text, emoticons or watermarks.
- Shoot every dish the same way, with the same light, angle and background, so your menu looks like one brand.
- Hire a photographer for launches, rebrands and hero shots; keep a simple in-house routine for new items and updates.
On a delivery app, customers cannot smell your food or see a queue outside. Grab’s in-house photographer puts it simply in a Grab story on food photography: for delivery, the first impression comes from the photo. The same photos then appear on your QR menu, kiosk, website and social media. This guide covers phone-based shooting, lighting, angles, styling, platform image specs and when it is worth paying a professional.
Why food photos matter for menus and delivery apps
A menu photo has three jobs: show what the customer will get, make it look appealing, and look like it comes from the same restaurant as every other photo. Photos that are dark, messy or inconsistent make a menu look careless even when the food is good. Photos that are over-styled create a gap between expectation and what arrives, which leads to complaints.
Aim for accurate and appealing. The dish in the photo should be the dish the customer receives, at the same portion size, in the same bowl or box.
Kit: what you need (and what you don’t)
You do not need a professional camera for most menu photos. foodpanda’s partner magazine, in a photography guide for restaurants, says a smartphone, natural light and a few simple techniques are enough to take good photos yourself. A useful basic kit:
- A recent smartphone with a clean lens. Wipe it before every shoot.
- A small tripod with a phone clamp. foodpanda’s guide notes that a tripod keeps photos sharp; it also keeps every photo at the same height and angle.
- A white foam board or reflector to bounce light into shadows.
- Two or three backgrounds: a wooden board, a plain ceramic or stone surface and a neutral linen.
- A continuous light (LED panel or softbox) if you have no good window.
Keep the kit in one box so the routine is easy to repeat.
Lighting
Lighting makes more difference than the camera. Grab’s merchant photo guidelines for Singapore ask for well-lit shots and warn against poor, overexposed or underexposed lighting. foodpanda’s guide recommends soft natural light from a window and avoiding harsh overhead lights or direct flash.
- Shoot near a window with indirect light, not direct sun. Diffuse harsh sun with a thin white curtain.
- Turn off overhead lights so you do not mix colour temperatures.
- Light from the side or slightly behind the dish to show texture; use the reflector on the opposite side.
- If you shoot after dark, use the same LED light in the same position every time.
Angles that suit each dish
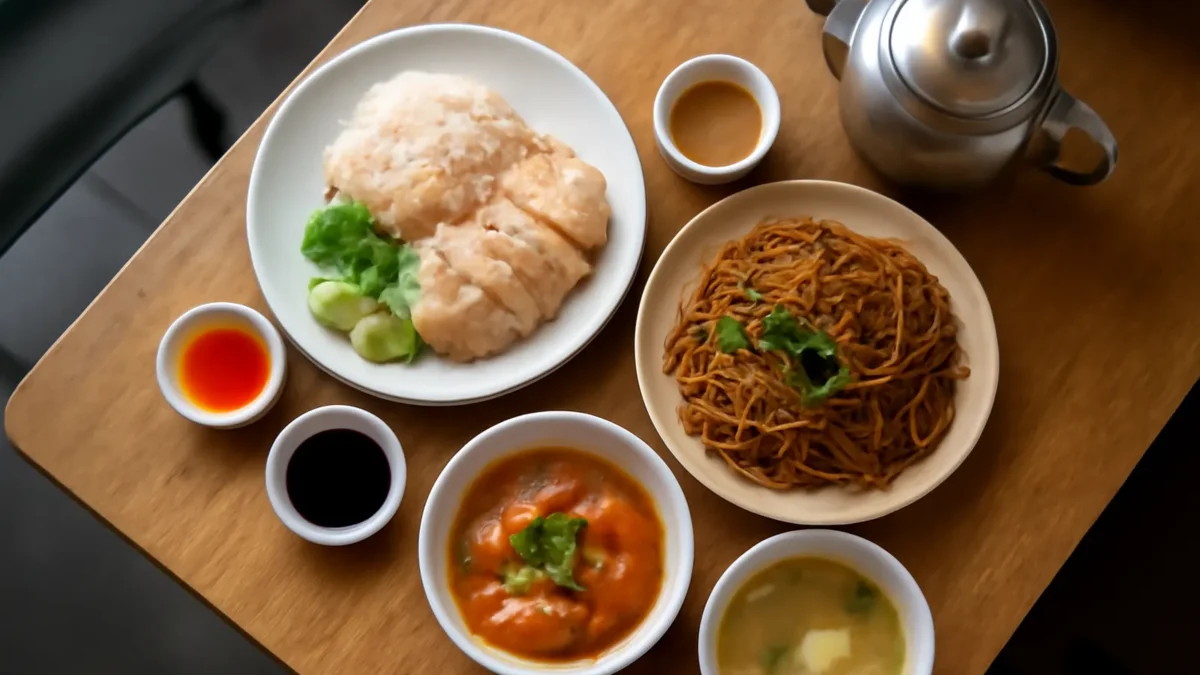
Grab’s guidelines describe three main angles: an overhead flat lay with the food centred, a 45-degree shot with the main dish in the foreground, and a straight-on side view for layered items such as burgers, sandwiches and cakes. Grab’s photographer adds that the right angle is the one that shows the details of the dish; overhead works for latte art and cake decorations, not for a burger.
| Dish type | Suggested angle | Why |
|---|---|---|
| Rice bowls, noodles in soup, pizza, platters | Overhead | Shows every ingredient and the full plate |
| Plated mains, pasta, dim sum baskets | 45 degrees | Shows height and the front of the dish |
| Burgers, sandwiches, layer cakes, tall drinks | Straight-on | Shows the layers |
| Coffee with latte art, decorated cakes | Overhead | Shows the top detail |
Pick one angle per category and use it for every item in that category, so the menu looks tidy.
Styling and plating for the camera
Grab’s guidelines ask for food that is properly cooked, neat plating and no spills on the edges of plates or cups. Its photographer recommends arranging ingredients so each component is visible, which matters for Southeast Asian dishes where components can blend together, and shooting dishes such as chicken rice before adding the sauce so you control how much goes on. He also advises shooting as soon as the dish leaves the kitchen.
Practical styling rules:
- Use your real serving ware or delivery packaging, so the photo matches what customers receive.
- Wipe rims and edges just before the shot.
- Add a fresh garnish or a brush of oil to bring back shine if the dish has sat for a minute.
- Keep props simple. Grab advises against messy backgrounds, and foodpanda warns against overcrowding the plate.
- Grab’s merchant guidelines advise avoiding close-ups, hands in the shot and overly artsy presentations for menu photos. Save those for social media.
Platform image specs: GrabFood and foodpanda
Each platform sets its own requirements, and they change. At the time of writing, Grab’s Singapore merchant help centre lists:
- Menu or catalogue photo: 1:1 aspect ratio, resolution of at least 750 x 750 pixels, and a file name that matches the menu item name.
- List photo: 1:1 aspect ratio, at least 750 x 750 pixels.
- Store or banner photo: 9:5 aspect ratio, at least 1,350 x 750 pixels.
Grab also asks that images be sharp, centred and free of text, emoticons and watermarks, and that you only use photos you have the legal right to use. Choose a cover photo that shows your restaurant’s theme and cuisine. Textured backgrounds such as wood, ceramic, linen or marble are recommended over busy patterns.
foodpanda’s partner guide covers technique but we did not find published pixel dimensions on the pages we checked, so confirm the current upload requirements in the foodpanda partner portal before you shoot. Our GrabFood merchant guide covers the rest of the menu set-up.
A practical approach: shoot at your phone’s full resolution, leave space around the dish, and crop to each platform’s ratio afterwards. Keep the uncropped originals.
Editing and keeping a consistent look
Light editing helps; heavy editing hurts. foodpanda’s guide suggests brightening, a small increase in contrast and a modest saturation boost, and names over-editing and inconsistent style as common mistakes. Grab’s photographer suggests editing presets to keep a consistent look across a menu or social feed.
- Create one preset (brightness, contrast, white balance) and apply it to every menu photo.
- Check colours on a phone screen, where most customers will see them.
- Do not change the food: no added ingredients, no bigger portions.
- Name files consistently, using the exact menu item name, as Grab requires.
Using the same photos across menus, QR ordering and screens
Once you have a consistent set, use it everywhere: printed menus, QR ordering, kiosks, your website, delivery apps and digital menu boards. Our menu design guide explains how to use photos on a menu without clutter, and our social media guide covers the more creative shots that suit Instagram and TikTok.
ChaChaCha’s QR ordering, self-order kiosk and online ordering page all show your menu, so good photos work harder across every channel. Ask us to confirm the recommended image sizes for your QR and kiosk screens before your shoot.
When to hire a photographer
An in-house routine covers new items and updates. A professional food photographer is worth considering when you:
- Open a new restaurant or rebrand and need a full, consistent set. Our guide to restaurant branding covers the name and identity around it.
- Need hero images for signage, advertising or a website homepage.
- Have dishes that are hard to shoot, such as dark sauces, soups or glossy desserts.
- Cannot spare kitchen and staff time to shoot properly.
When you brief a photographer, share your platform specs, brand guidelines, the list of dishes and the angle for each category. Agree in writing who owns the images and where you may use them, since Grab asks merchants to use only photos they have the legal right to use. Ask for quotes from more than one photographer; we have not listed rates because they vary by scope.
Need help getting your menu, photos and ordering channels onto one system? Talk to ChaChaCha.